
How to get started with JivoChat
This guide will show you how to register a new account in our system. If you would like to add another agent to your existing account, then follow the "How to add an agent" instructions instead.
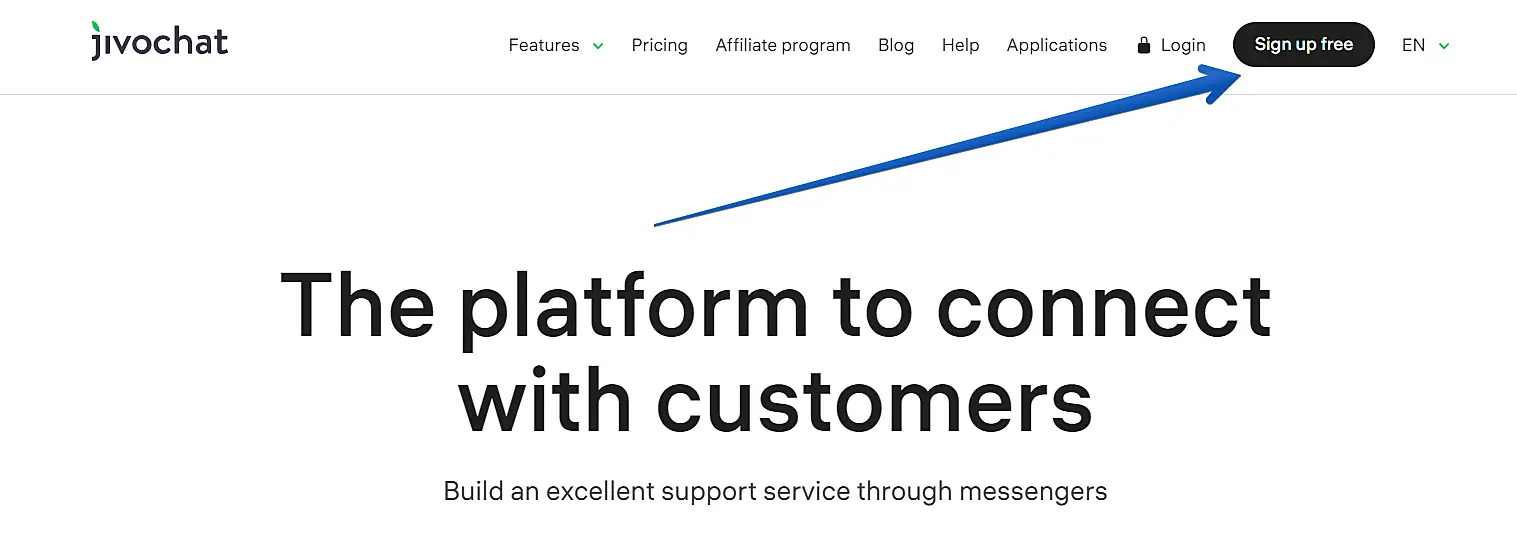
To install the live chat on your website, you will first need to complete the registration process at jivochat.com:
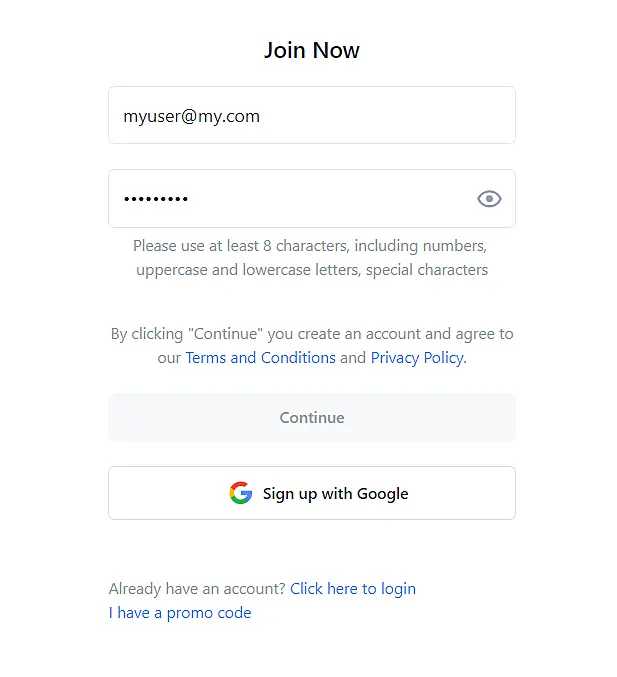
Step 1
Enter the desired email for the account administrator and create a password, or create an account directly using your Gmail login. This administrator account will grant you access to the application with the admin mode included, providing access to all account settings and statistics.
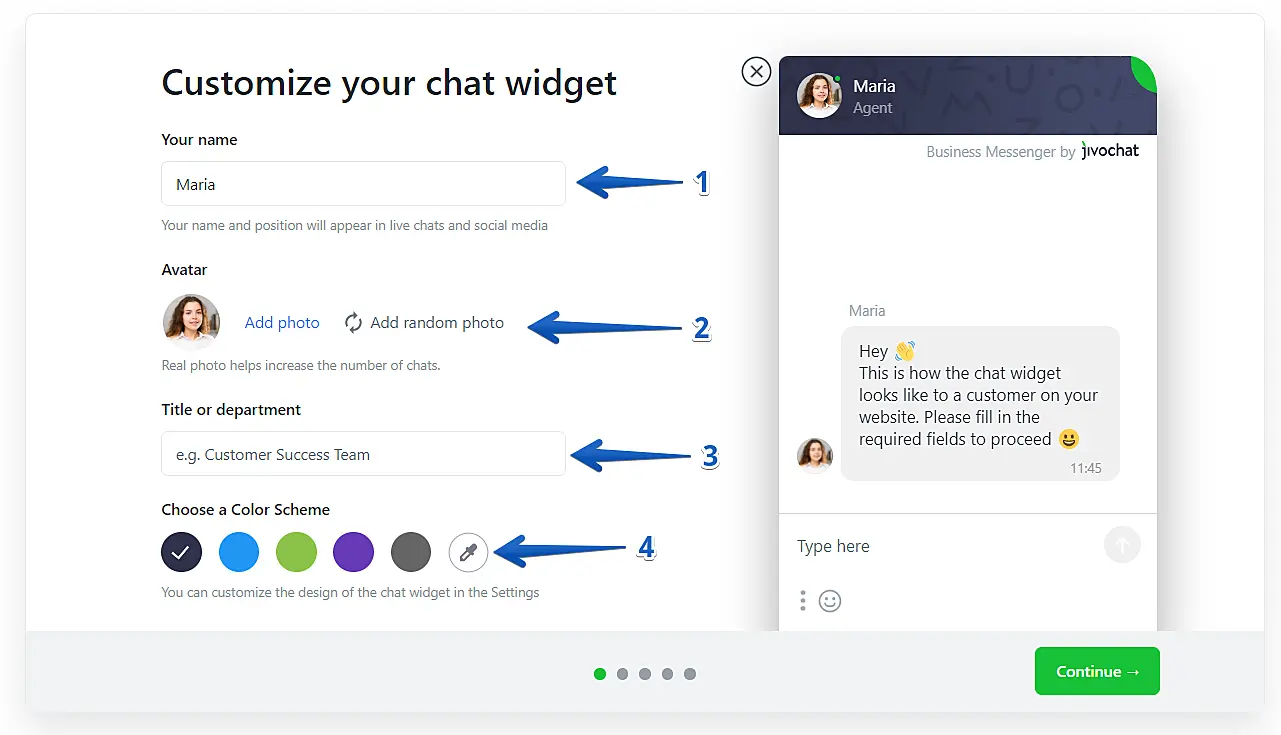
Step 2
Enter your name (1) corresponding to the registration email, your avatar (2), your position (3), and the theme color (4) for the chat that will be installed on your website (these details can be changed within the application at any time). Once you have entered all the information, click on Continue.
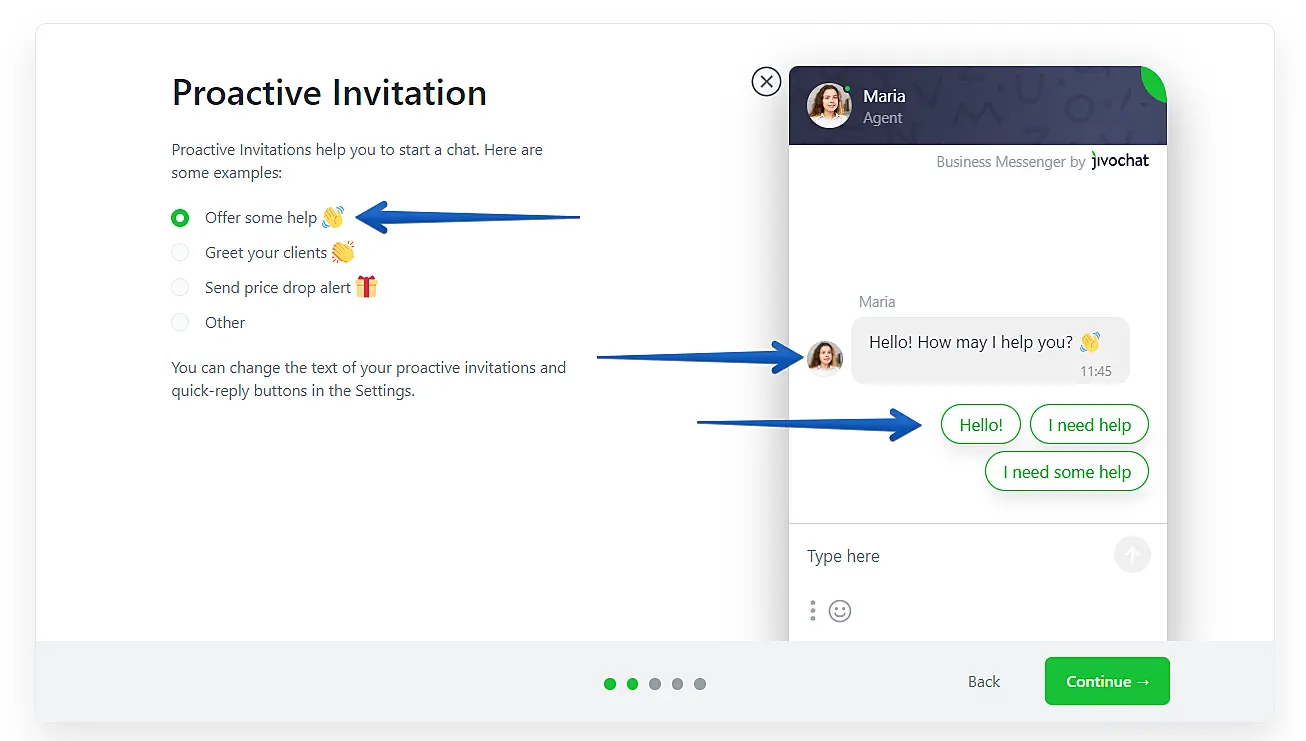
Step 3
At this stage, you will be able to write the best proactive chat invitation for your website. This trigger will help you increase the conversion of visits into conversations (you can change the text and buttons at any time within the application). After making your selection, click on Continue.
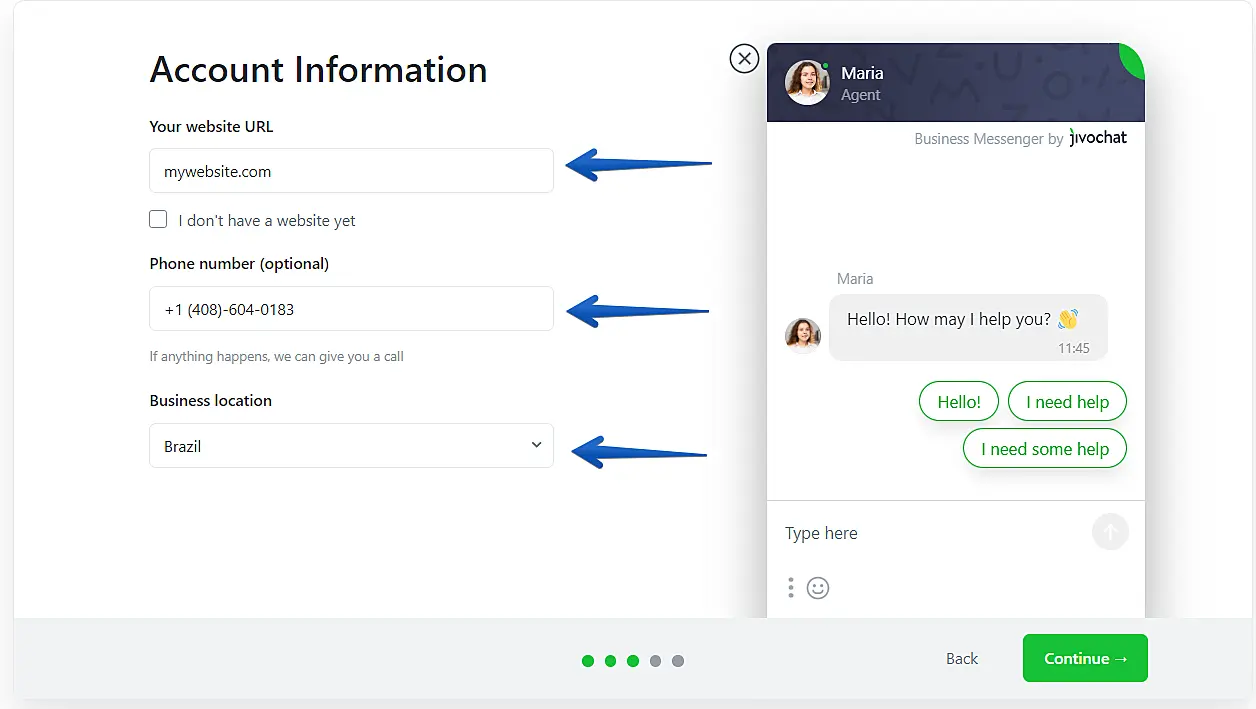
Step 4
In this stage, you will input your domain and phone number, as well as choose the country of origin for your business. Always remember to click "Continue" after providing the required information.
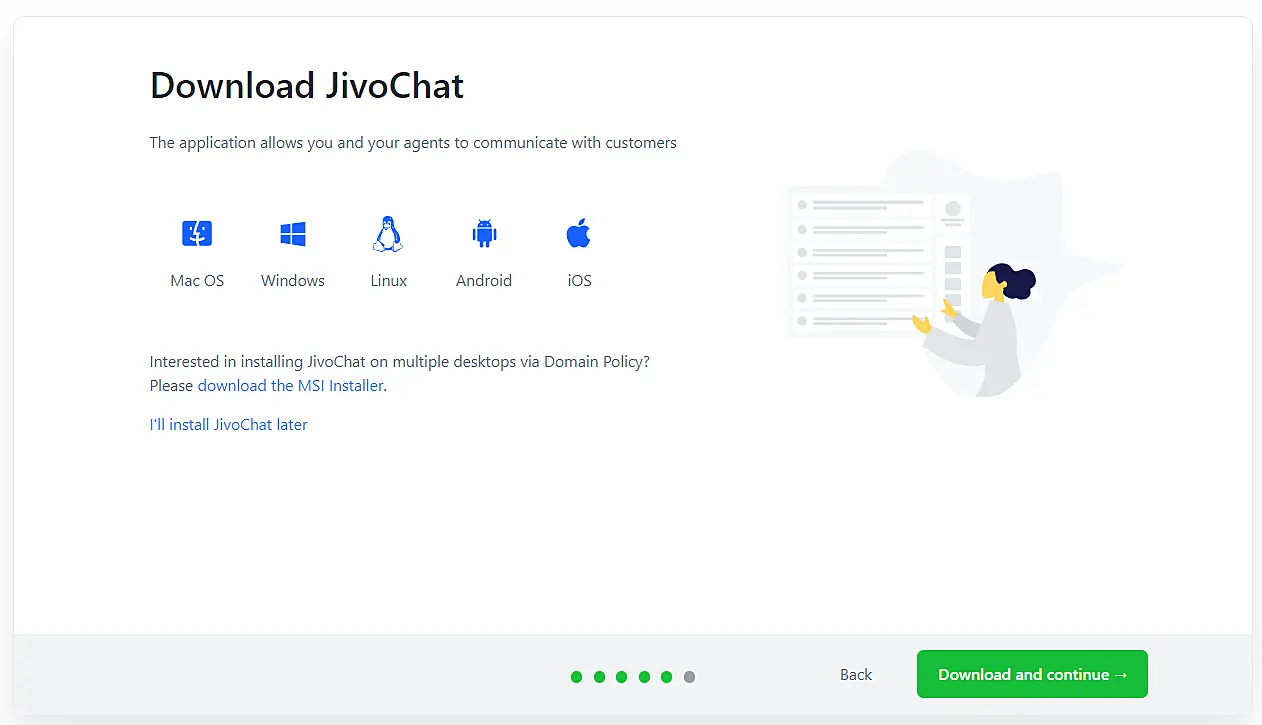
Step 5
Now, we've reached the penultimate stage, where you get to decide how you'd like to access our application: you can either download it to your computer or use it directly in your browser.
We highly recommend downloading the application for your computer, as it offers a more user-friendly experience for day-to-day usage and management. Additionally, there's also an option to get the JivoChat version for iOS and Android.
Feel free to move forward by clicking the "Download and continue" button in green, or alternatively, you can choose the "I will install the application later" link to proceed with using the application directly in your browser.
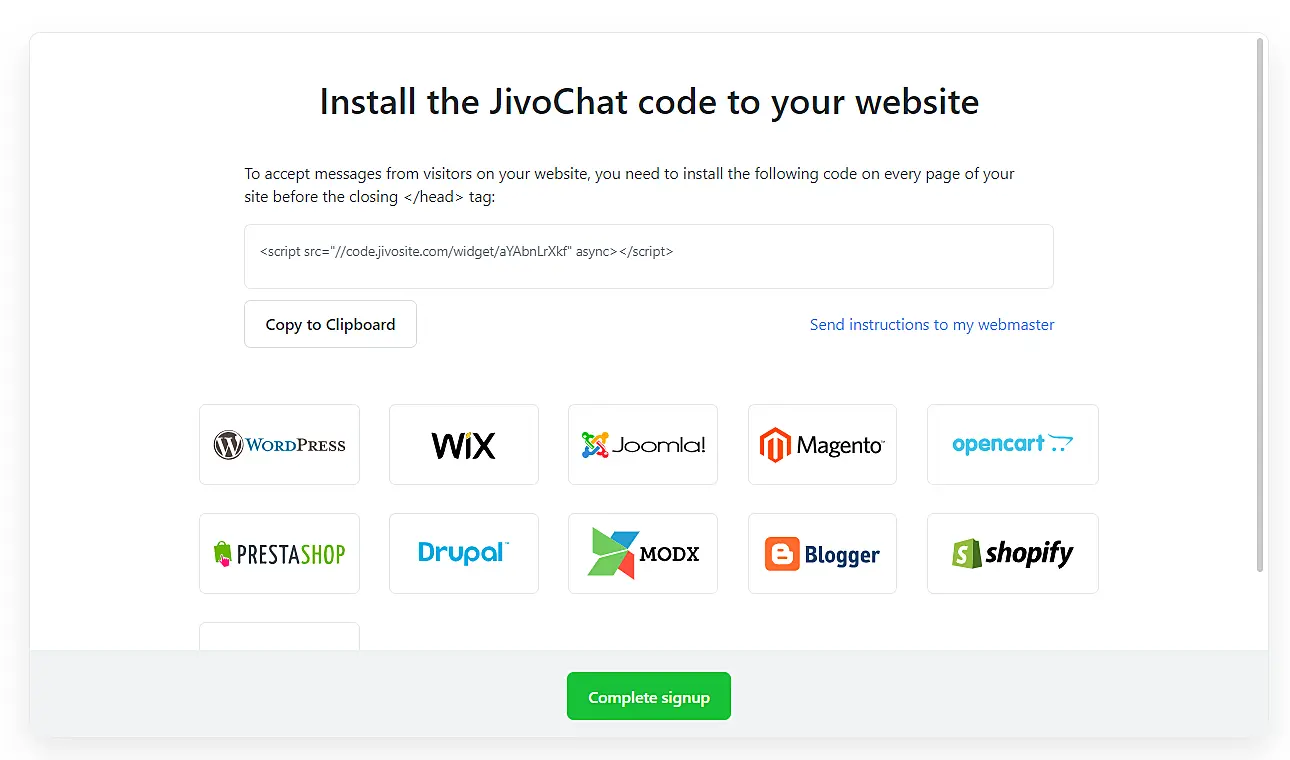
Step 6
We've arrived at the last step of the registration process. Now is the moment to copy the installation code and paste it into your website builder, send it to your developer, or, even better, install our plugin, which is available on the most prominent CMS (Content Management System) platforms around the world.
We offer several installation tutorials for the most popular CMS platforms on the market. You can access them by clicking here.
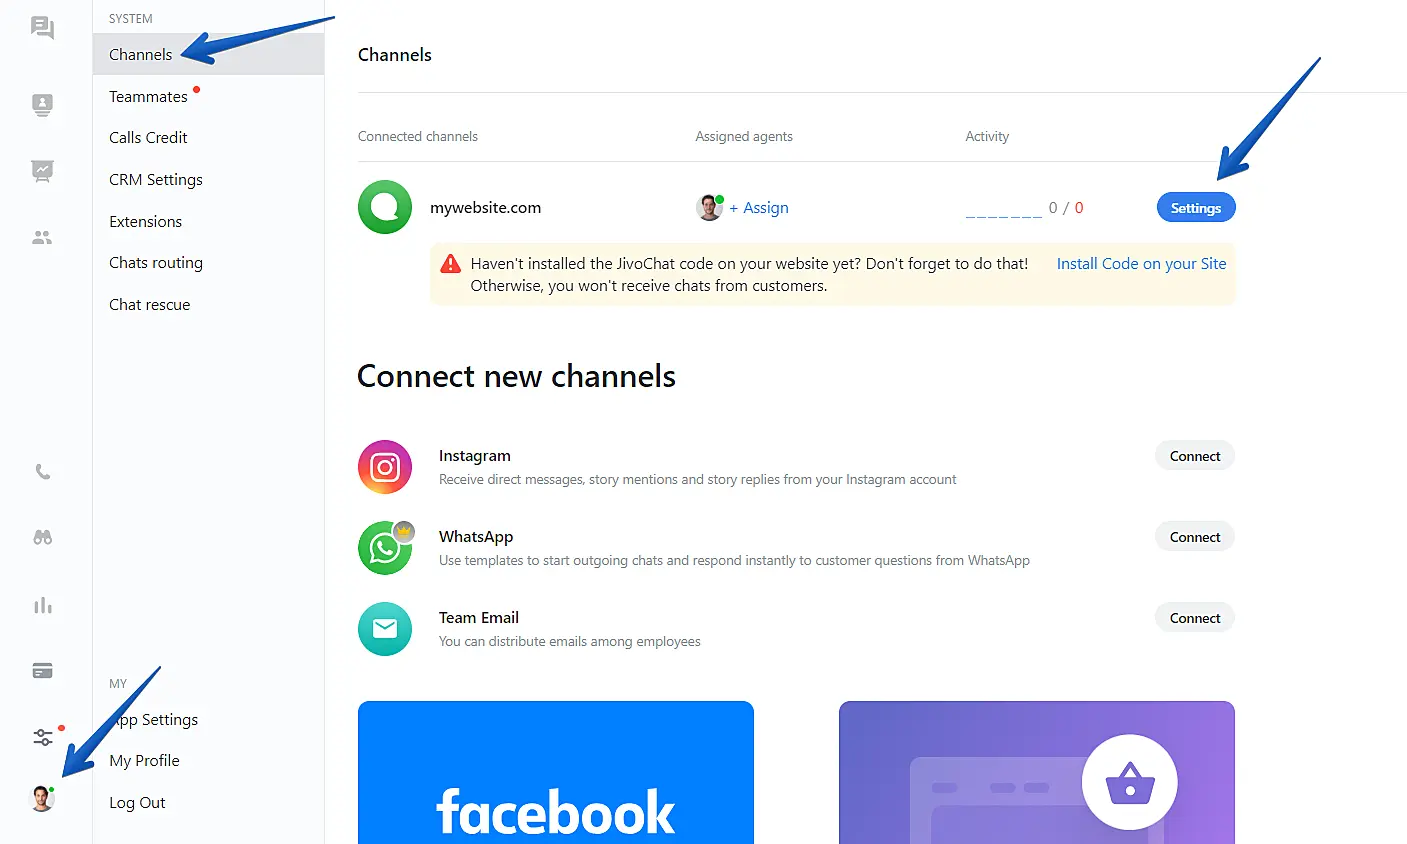
If you need to locate the installation code after you've completed the registration process on our website, access the JivoChat app. It's available at any time in the Manage section under Channels > Settings from the channel -> Installation.
After the registration process, you will automatically receive a 14-day DEMO of the professional version of JivoChat. After that, all the professional features will be deactivated, and the system will continue functioning in the free version, which never expires nor limits chats quantity. You can upgrade to the professional version any time.
Try your first chat
You can test your first chat in Contact Center > Inbox > Send a message to yourself.

When you follow this step, you will see a test page, and then start interacting with yourself to test all the functionalities, features and tools that JivoChat offers, in addition to navigating the application and seeing real-time statistics and tracking visitors online through the "Visitors" tab.

That's it! We wish you a productive day!

